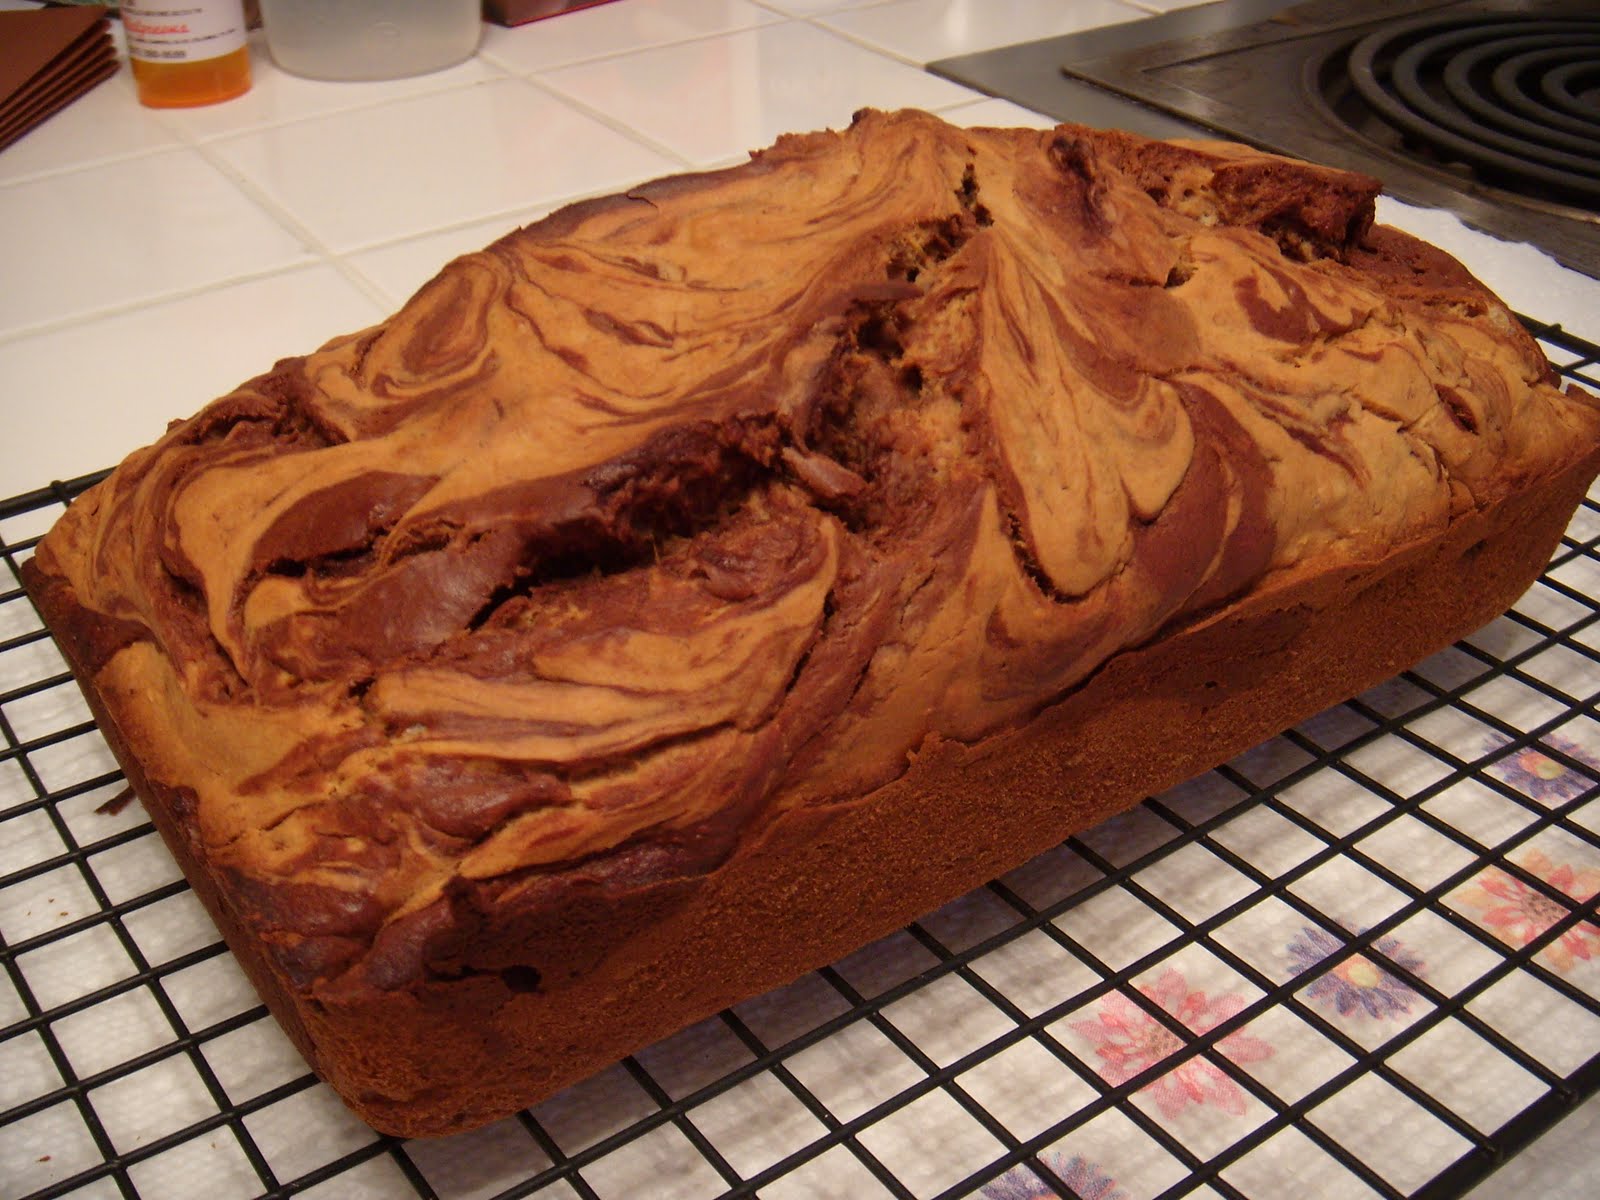
Marbled Chocolate Banana Bread
Yield: 16 slices
2 C all purpose flour
½ t salt
1 C sugar
1 ½ C mashed bananas (about 3)
½ C egg substitute (2 eggs)
1/3 C plain low-fat yogurt
½ C semi-sweet chocolate chips
¾ t baking soda
¼ C butter, softened
Cooking spray
Preheat oven to 350˚. Lightly spoon flour into dry measuring cups. Combine flour, baking soda and salt. Place sugar and butter in a large bowl; beat with a mixer at medium speed until well blended. Add banana, egg and yogurt; beat until blended. Add flour mixture; beat at low speed until just moist.
Place chocolate chips in a medium microwave safe bowl. Microwave at high for one minute until almost melted, stirring until smooth. Cool slightly. Add 1 cup of batter to chocolate and stir until combined. Spoon chocolate batter alternately with plain batter into an 8 ½ x 4 ½ greased loaf pan. Swirl batters together using a knife. Bake at 350˚ for one hour or until wooden pick inserted in center comes out clean. Cool 10 minutes in pan on a wire rack; remove from pan; cool completely on wire rack.
Calories: 183 (23% from fat)
Fat: 4.7g (sat 2.8g,mono 1.4g,poly 0.2g)
Protein: 3.1g
Carbohydrate: 33.4g
Fiber: 1.3g
Cholesterol:
8mg
Iron: 1.1mg
Sodium: 180mg
Calcium: 18mg
This is so incredibly delicious. The first time I made it, I literally wanted to eat the entire loaf hot out of the oven. The mouth watering combination of chocolate and bananas with the texture of hot, fresh bread will quite literally send your senses into gastronomic overdrive. This bread keeps pretty well for a few days, but honestly, there is no sensible reason for it to sit more than three or four days before it's gobbled right up. It also freezes well, too, if wrapped in plastic wrap and aluminum foil.
This bread is so versatile and can be eaten as a snack, a light dessert or my favorite, breakfast! Toast two pieces in the oven until slightly browned and the ends crunchy (the slices would likely fall apart in a traditional toaster oven, but be my guest), and then - wait for it! - spread a little peanut butter on each slice. Ring, ring! Hello, who is it? It's your stomach and brain calling, and they have just simultaneously passed out from the lip smacking fusion of the holy trinity of taste and deliciousness. The Cajun holy trinity has nothing on this combo.
A few notes. With the bananas, it's really important that they be very ripe simply because it makes them easier to mash, plus they are much sweeter when they're more ripe. Some good black speckling on the peel is a fine indicator. I sliced them up into chunks and use a pastry cutter to do the mashing, or you could also use a blender or a fork. But they have to be pretty well mashed for this to work. A few little solids here and there won't cause a problem. Also, instead of the plain low-fat yogurt, I use low-fat vanilla yogurt just to add that little extra pop. Plus, I use real eggs and not the egg substitute. You could also sub in some whole wheat flour, a teaspoon of cinnamon, a smidgen of vanilla extract, etc. Whatever your little heart desires.


