Wow, I have come a long way. I'm not necessarily talking about the beginning of my marriage when I flat out could not cook, but even since the beginning of this blog. I've tackled so many cooking methods and ingredients, successes and failures, and I'm no worse for wear. I guess that confidence kind of got to me. And so it happened about a month ago when the Husband had an open weekend where he didn't have to work and we were left with deciding what to do. We talked about taking a little two-day trip somewhere, we talked about driving to a basketball game, and then the Husband said a few little words that lit a fire in me.
"How about hosting a dinner party?"
At first it sounded nice, but a little crazy. I had been talking about hosting a dinner party for a few years. But every time I got the opportunity, I either let it pass with no action or something else came up (much to my relief) and I just put the thought in the back of my mind. Truth be told, I was afraid. Afraid, she says! What's the big deal - you invite your good friends over, cook a great meal, throw in some delightful conversation, and the evening is a resounding success. The part that I was afraid of was the "cook a great meal" part. I couldn't even cook for myself and the Husband some nights - how was I going to manage cooking for eight other people and make sure it tasted good?
But then that confidence crept up inside me again. I knew I cooked some amazing dishes for this blog, and I was starting to get more comfortable with my abilities and pushing any limitations to see if I could get to the next level. A dinner party was, in effect, the next level. I knew what had to be done. I emailed our friends and invited them over before I had a chance to chicken out. I was locked in! I had to do it! Maybe I should have just done that sooner, but this timing was going to work out well. The Husband and I tossed around a lot of ideas for the meal and we finally came up with a great menu:
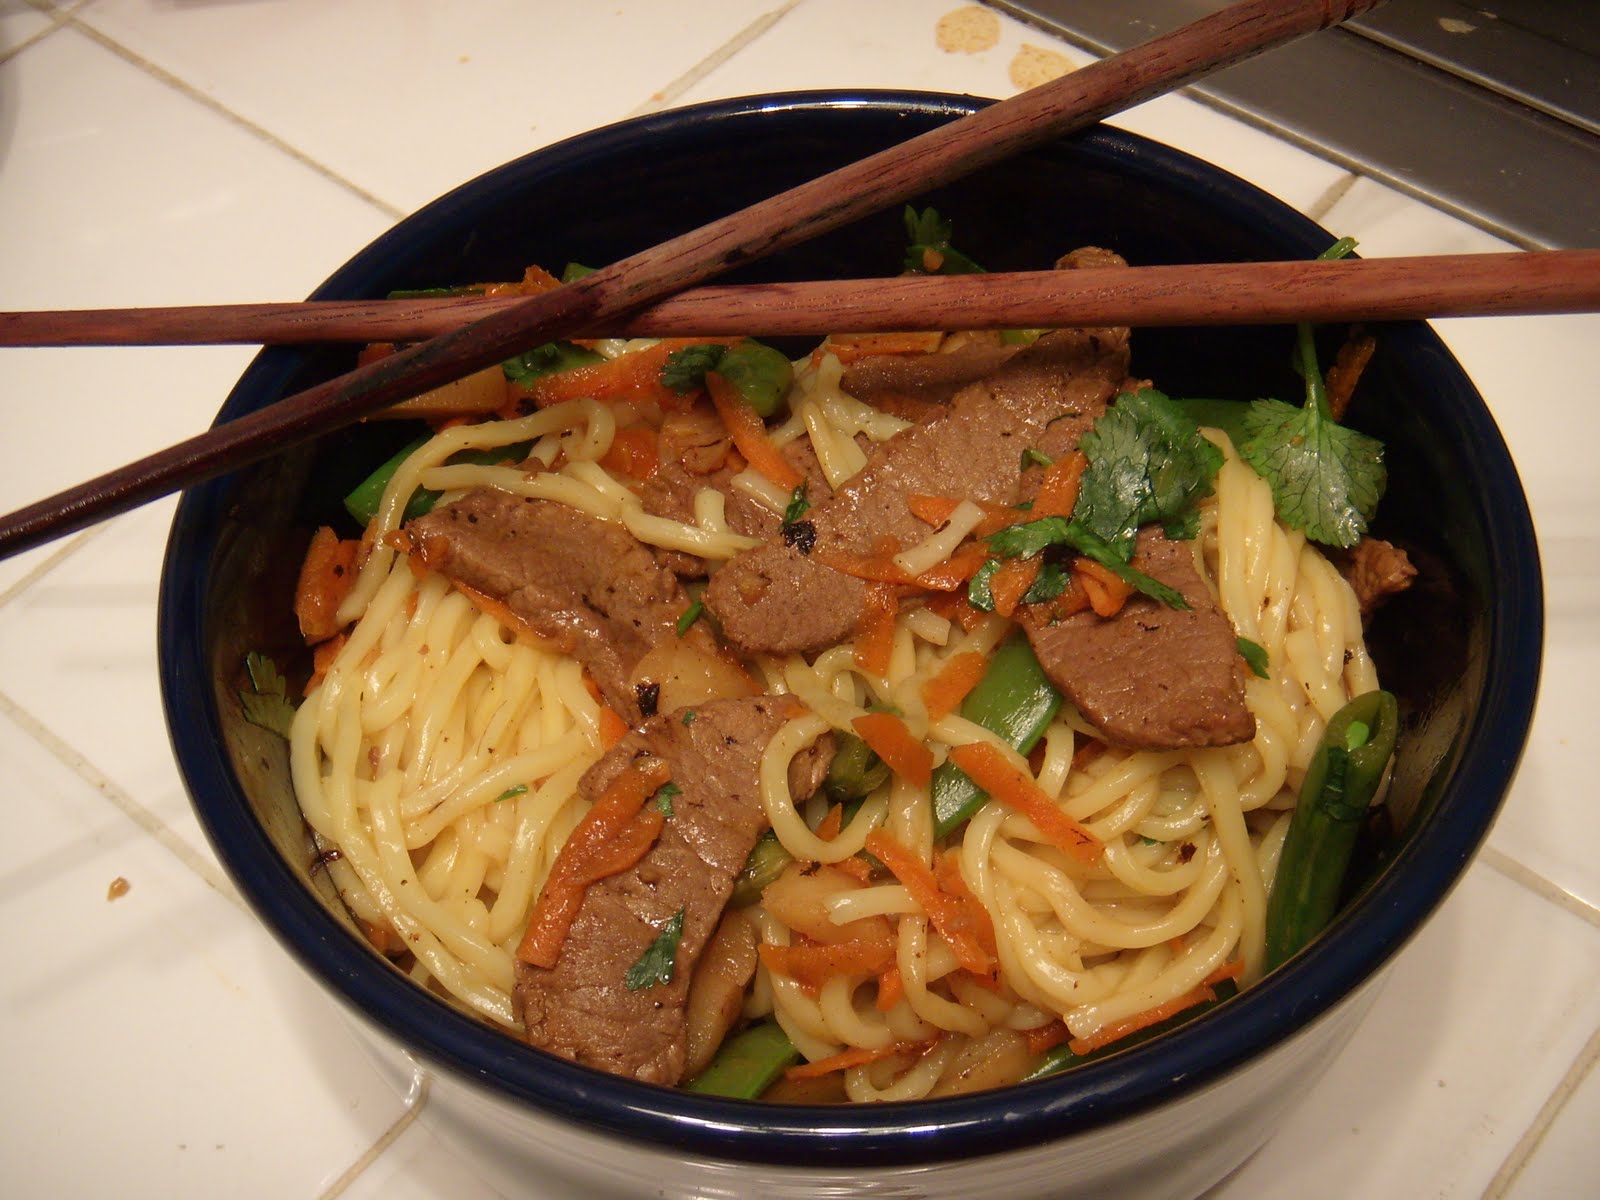
Potato and Ricotta Gnocchi with Bolognese SauceMixed Greens SaladCauliflower CasseroleRoasted ZucchiniChocolate MousseThe gnocchi was an all around hit every time I made it, so that was a good choice. Everyone likes pasta and this gave everyone the chance to try something most of them probably hadn't eaten before. The Cauliflower Casserole came from my Aunt, who passed it along to my Dad, who cooked it as part of Christmas dinner last year. The Husband, my brother and I all turned our noses up at the name, confident that nary a bite would pass our lips. But, being the grownups we are, we tried it. And we all really liked it! And so did our guests, as evidenced by one of our friends literally scraping the bottom of the baking dish with the serving spoon. The Roasted Zucchini came from Southern Living and was also a hit - I only wish I had made more. And finally, the Chocolate Mousse came from a Betty Crocker Cookbook that my Dad gave me and the Husband for our first Christmas.
We did some major prep work for this event. I even wrote out a to-do list that started three days in advance of the party, from grocery shopping to cutting up veggies the night before to starting the gnocchi dough that morning. I was ready. For the gnocchi, I knew I would have to at least double the recipe I was used to making. There were going to be ten of us and a lot of big appetites. I eventually tripled the dough and the sauce just to make sure I had enough, and as it turned out that was way too much. I would have been okay with doubling it. I made the dough that morning and let it rest, as directed. About two hours before guests were to arrive I pulled out the dough to get it rolled out and cut into the little gnocchi pillows. But when I scooped the dough onto the floured cutting board, my blood ran cold. The dough was way too wet, gooey almost, and completely unable to be shaped. My first thought was one of panic, but thankfully my next thought was somewhat more rational. I grabbed the flour and added more to my dough, stirring away. Still runny. More flour. Getting better. More flour. Finally I had some dough I could work with. Crisis averted, but still something I had not planned.
When we moved from the salad course to the main course, we took a little longer than anticipated to actually get the gnocchi cooked and plated and on the table, but our guests were very gracious and kept the conversation flowing while the Husband and I worked our tails off in the kitchen trying to get the gnocchi wrapped up. All in all, we had a wonderful time with our wonderful friends, and all were very complimentary. One friend, in fact, really put a smile on my face when she said, "I didn't realize you could cook like this!" Neither did I. But now I do.
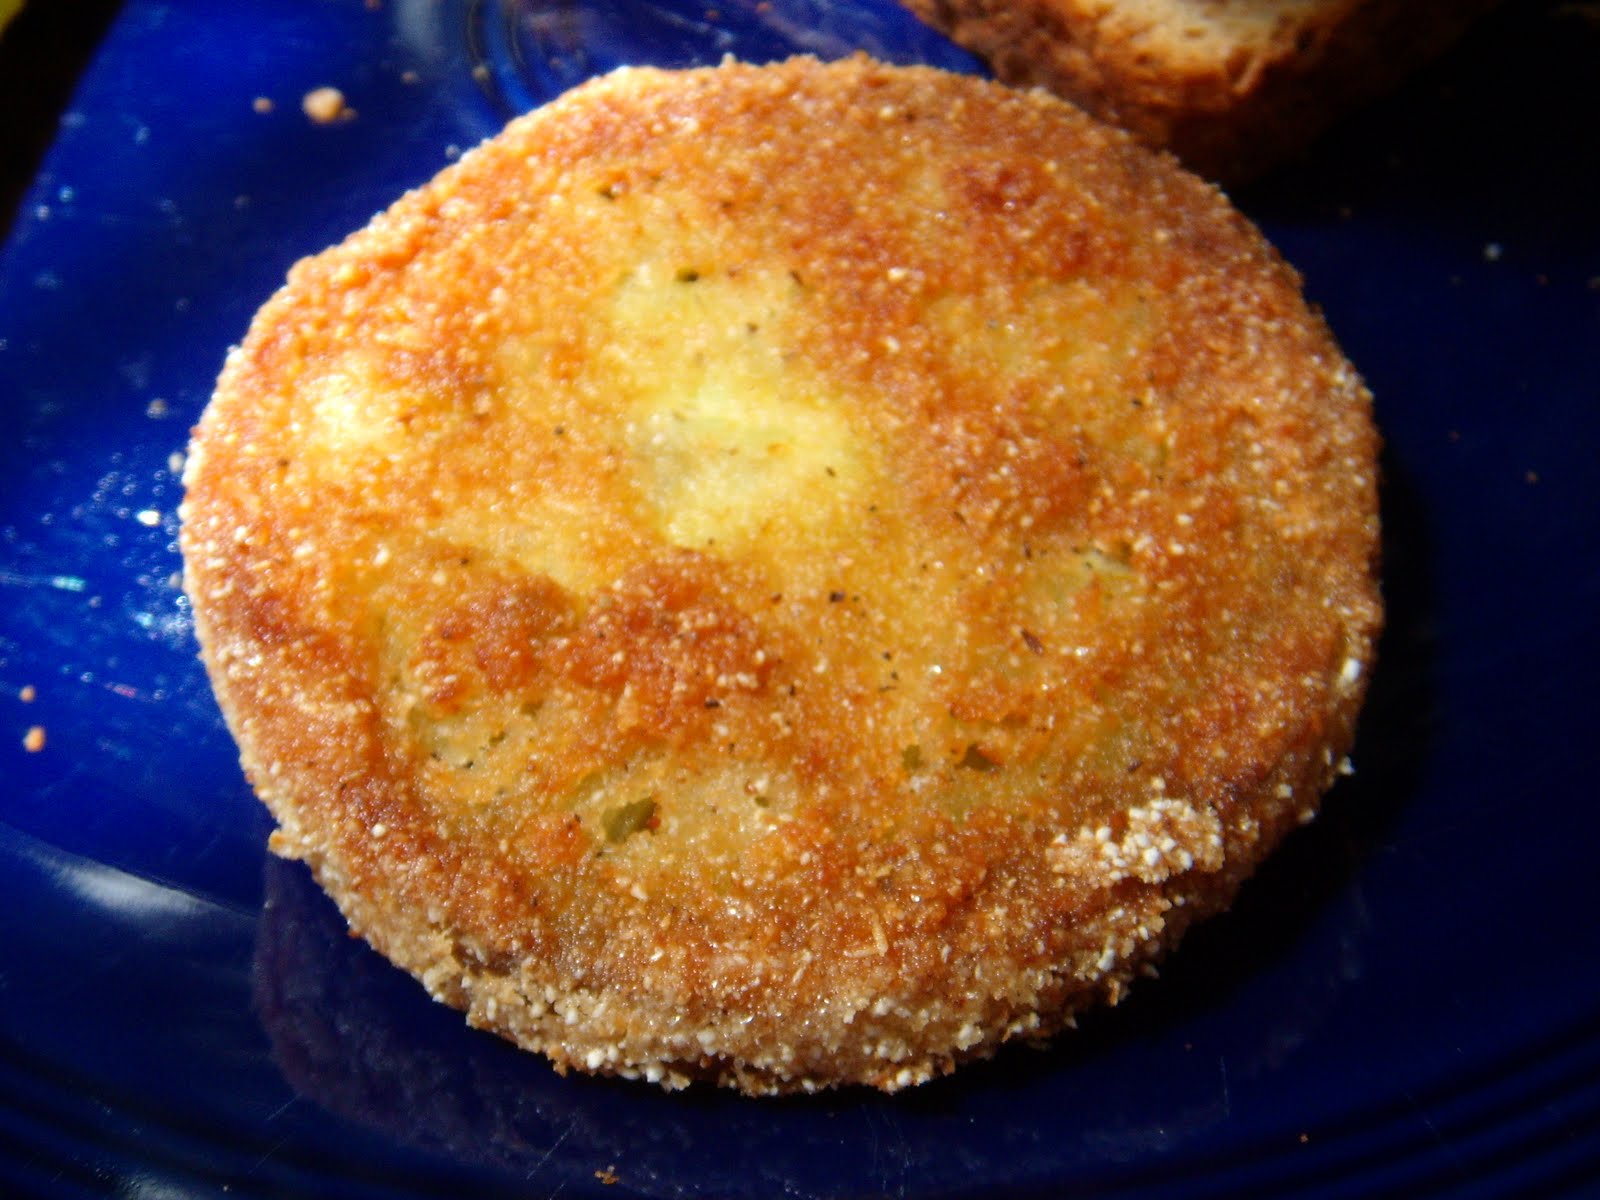
Cauliflower Casserole
Ingredients
1 medium head cauliflower, broken into florets
1 8-oz carton sour cream
1 C shredded sharp cheddar
1/2 C crushed corn flakes cereal
1/4 C finely chopped green pepper
1/4 C finely chopped sweet red pepper
1 t salt
1/4 C grated Parmesan cheese
Paprika to taste
Place cauliflower florets into saucepan with a small amount of water; cover and cook for five minute and drain.
Combine the cauliflower, sour cream, cheddar cheese, corn flakes, peppers and salt. Transfer to a greased 2-quart baking dish.
Sprinkle with Parmesan cheese and paprika. Bake uncovered in 325° oven for 30-35 minutes, stirring often.
I think the main reason this recipe turned out so well, despite the cauliflower, is because of all the cheese and sour cream. It's probably not all that healthy, but it's a show stopper. When steaming the cauliflower, I used an actual steamer as opposed to boiling it as stated in the recipe. I also could have used a larger head of cauliflower because once everything was dumped into the baking dish, it looked a little sparse. Our guests confirmed that after the dish was scraped clean and I swear I saw some pleading eyes begging for more.
Finally, the chocolate mousse. A little goes a long way with this item. It's so rich and delicious and just the perfect ending to a great meal. I served it in wine glasses and I meant to rim the glasses with sugar but I totally forgot. It still turned out perfect.
After our guests left and the kitchen had been totally covered up with dirty dishes and hand towels and empty wine bottles (we're a drinkin' bunch), I just felt such a sense of accomplishment and relief. We did it, and we did it up nice. Our friends were happy and full and I pushed another limitation and did something I didn't think I could do. Excuse the cliche, but I kind of felt like a kitchen rock star. It felt good.


